zabbix安装
一、介绍主要版本
1.8     开始知道
2.0
2.2LTS  火爆
2.4
3.0 LTS
3.2 标准版
3.4 标准版
4.0 LTS
4.2 标准版
4.4 标准版
5.0 LTS

LTS:长期支持版 大约支持五年
标准版:支持七个月
二、学习规划
1、学习版本
学习4.0版本,因为4.0是长期支持版本之一,比较新,企业常用。学完时进行4.0到5.0的升级。2、学习环境
主机:zabbix
ip:  10.0.0.71
操作系统版本:centos 7.6
三、zabbix生产环境安装
1、配置yum 源
1)下载zabbix yum仓库
方法一
rpm -Uvh https://repo.zabbix.com/zabbix/4.0/rhel/7/x86_64/zabbix-release-4.0-2.el7.noarch.rpm

yum clean all
方法二
wget https://repo.zabbix.com/zabbix/4.0/rhel/7/x86_64/zabbix-release-4.0-2.el7.noarch.rpm

rpm -ivh zabbix-release-4.0-2.el7.noarch.rpm

yum clean all
2)修改zabbix yum源
所有gpgcheck都设置为0
[root@zabbix ~]# vim /etc/yum.repos.d/zabbix.repo
[zabbix]
name=Zabbix Official Repository - $basearch
baseurl=http://repo.zabbix.com/zabbix/4.0/rhel/7/$basearch/
enabled=1
gpgcheck=0
gpgkey=file:///etc/pki/rpm-gpg/RPM-GPG-KEY-ZABBIX-A14FE591

[zabbix-debuginfo]
name=Zabbix Official Repository debuginfo - $basearch
baseurl=http://repo.zabbix.com/zabbix/4.0/rhel/7/$basearch/debuginfo/
enabled=0
gpgkey=file:///etc/pki/rpm-gpg/RPM-GPG-KEY-ZABBIX-A14FE591
gpgcheck=0

[zabbix-non-supported]
name=Zabbix Official Repository non-supported - $basearch
baseurl=http://repo.zabbix.com/non-supported/rhel/7/$basearch/
enabled=1
gpgkey=file:///etc/pki/rpm-gpg/RPM-GPG-KEY-ZABBIX
gpgcheck=0
2、安装zabbix服务器,前端,代理,数据库,客户端
[root@zabbix ~]# yum install -y zabbix-server-mysql zabbix-web-mysql

[root@zabbix ~]# yum install -y mariadb-server.x86_64
[root@zabbix ~]# yum install zabbix-agent.x86_64 -y
3、启动数据库并设置开机自启
[root@zabbix ~]# systemctl start mariadb.service
[root@zabbix ~]# systemctl enable mariadb.service
4、mariadb安全配置向导
[root@zabbix ~]# mysql_secure_installation
Enter current password for root (enter for none): 数据库密码,刚下载,默认没有密码,直接回车

Set root password? [Y/n] 是否设置用户密码,y设置密码

Remove anonymous users? [Y/n] 是否删除匿名用户,y

Disallow root login remotely? [Y/n] 是否禁止root用户远程登录,y

Remove test database and access to it? [Y/n] 是否删除任何人都可以访问的text测试库,y

Reload privilege tables now? [Y/n] 重新加载授权表,y
5、确认删库,授权成功
[root@zabbix ~]# mysql -p
Enter password:

MariaDB [(none)]> show databases;
+--------------------+
| Database           |
+--------------------+
| information_schema |
| mysql              |
| performance_schema |
+--------------------+
3 rows in set (0.00 sec)

MariaDB [(none)]> select user,host from mysql.user;
+------+-----------+
| user | host      |
+------+-----------+
| root | 127.0.0.1 |
| root | ::1       |
| root | localhost |
+------+-----------+
6、mariadb创建zabbix库,并授权
[root@zabbix ~]# mysql -p
Enter password:

建库
MariaDB [(none)]> create database zabbix character set utf8 collate utf8_bin;

授权
MariaDB [(none)]> grant all on zabbix.* to zabbix@localhost identified by '123456';
7、导入初始数据
1)查找初始数据位置
[root@zabbix ~]# rpm -ql zabbix-server-mysql |grep create.sql
/usr/share/doc/zabbix-server-mysql-4.0.29/create.sql.gz
2)导入初始数据
[root@zabbix ~]# zcat /usr/share/doc/zabbix-server-mysql-4.0.29/create.sql.gz | mysql -uzabbix -p123456 zabbix

无需查找通用命令
zcat /usr/share/doc/zabbix-server-mysql*/create.sql.gz | mysql -uzabbix -p123456 zabbix
3)查看是否导入成功
MariaDB [(none)]> use zabbix
MariaDB [zabbix]> show tables;

或
[root@zabbix ~]# mysql zabbix -p -e 'show tables';
Enter password:
8、配置zabbix server的配置文件
修改以下信息
[root@zabbix ~]# vim /etc/zabbix/zabbix_server.conf
DBHost=localhost
DBName=zabbix
DBUser=zabbix
DBPassword=123456
9、启动zabbix server并加入开机自启
[root@zabbix ~]# systemctl start zabbix-server.service
[root@zabbix ~]# systemctl enable zabbix-server.service
10、确认zabbix服务端启动成功
[root@zabbix ~]# netstat -lntup
Active Internet connections (only servers)
Proto Recv-Q Send-Q Local Address           Foreign Address         State       PID/Program name
tcp        0      0 0.0.0.0:3306            0.0.0.0:*               LISTEN      2210/mysqld
tcp        0      0 0.0.0.0:22              0.0.0.0:*               LISTEN      1400/sshd
tcp        0      0 127.0.0.1:25            0.0.0.0:*               LISTEN      1561/master
tcp        0      0 0.0.0.0:10051           0.0.0.0:*               LISTEN      18523/zabbix_server
tcp6       0      0 :::22                   :::*                    LISTEN      1400/sshd
tcp6       0      0 ::1:25                  :::*                    LISTEN      1561/master
tcp6       0      0 :::10051                :::*                    LISTEN      18523/zabbix_server
11、配置zabbix web(httpd)配置文件
[root@zabbix ~]# vim /etc/httpd/conf.d/zabbix.conf
        php_value date.timezone Asia/Shanghai

或
[root@zabbix ~]# vim /etc/php.ini
date.timezone = Asia/Shanghai
12、启动httpd,并加入开机自启
[root@zabbix ~]# systemctl start httpd.service
[root@zabbix ~]# systemctl enable httpd.service
Created symlink from /etc/systemd/system/multi-user.target.wants/httpd.service to /usr/lib/systemd/system/httpd.service.
13、访问zabbix页面,并设置
http://10.0.0.71/zabbix
下一步。。
设置密码
设置好密码
下一步
设置名字
下一步。。
生成了php文件,做迁移和升级会用到
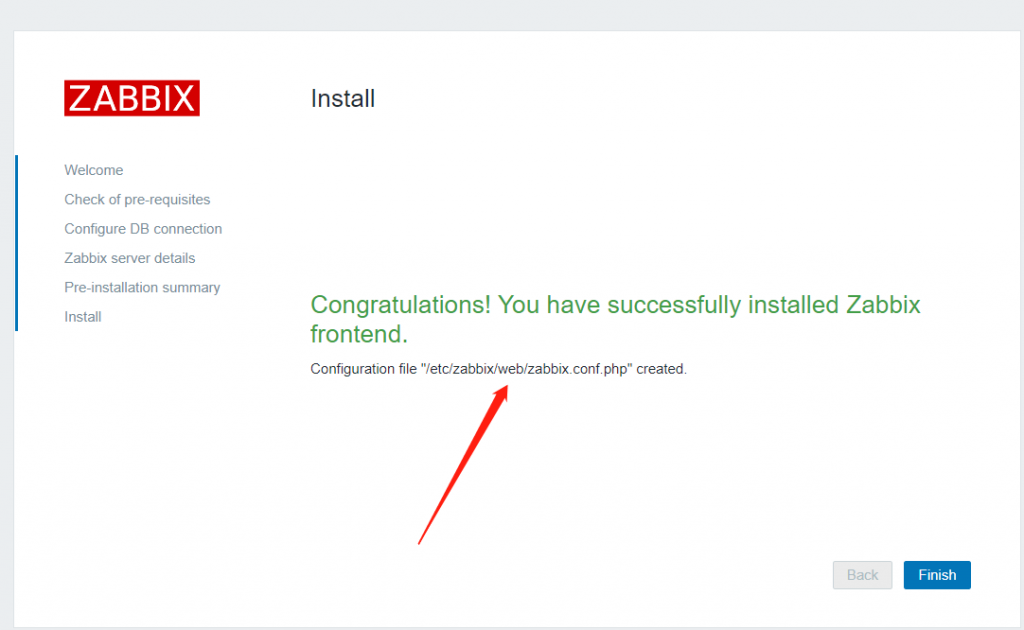
完成。
登录
账号:Admin
密码:zabbix

设置中文


14、启动zabbix-agent并开机自启
[root@zabbix ~]# systemctl start zabbix-agent.service
[root@zabbix ~]# systemctl enable zabbix-agent.service
15、确认自我监控成功