一、先构建LNMP环境
1.1 系统环境
sed -ri 's/enforcing/disabled/g' /etc/sysconfig/selinux
systemctl stop firewalld

setenforce 0
iptables -t filter -F
1.2 安装nginx
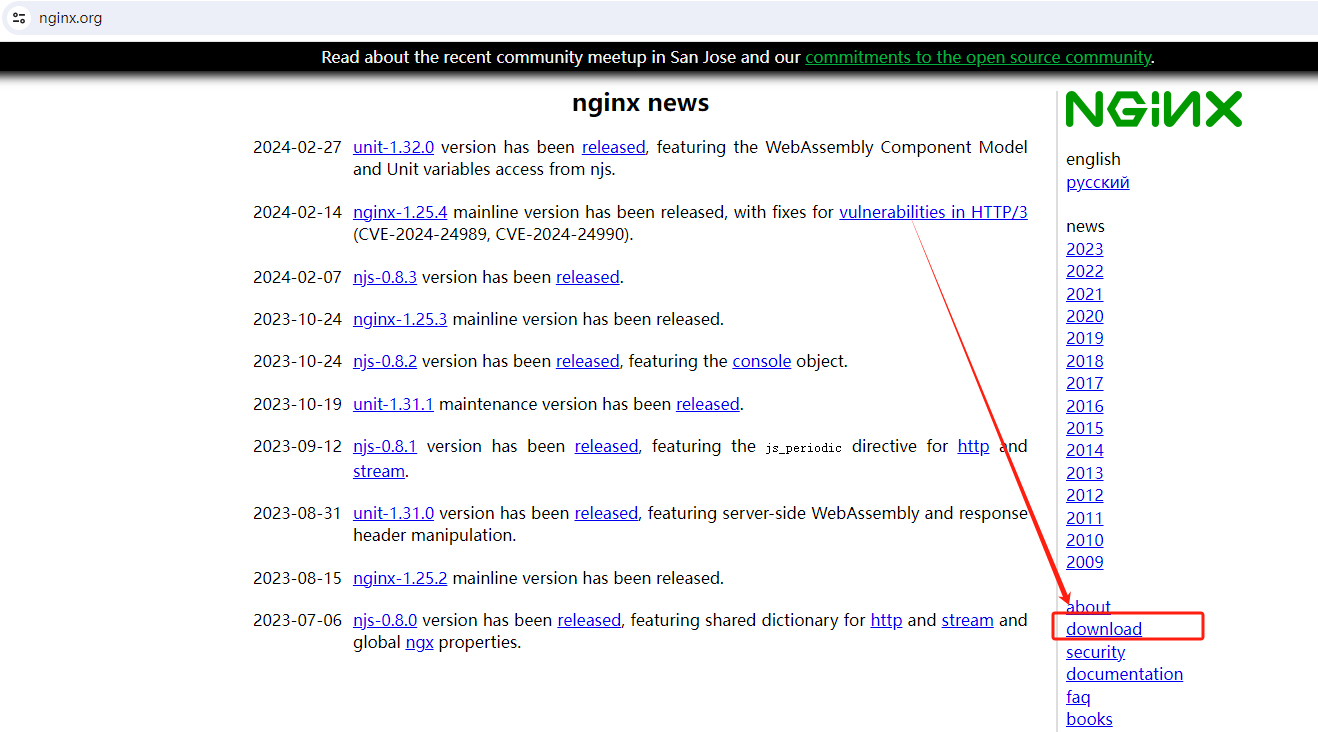
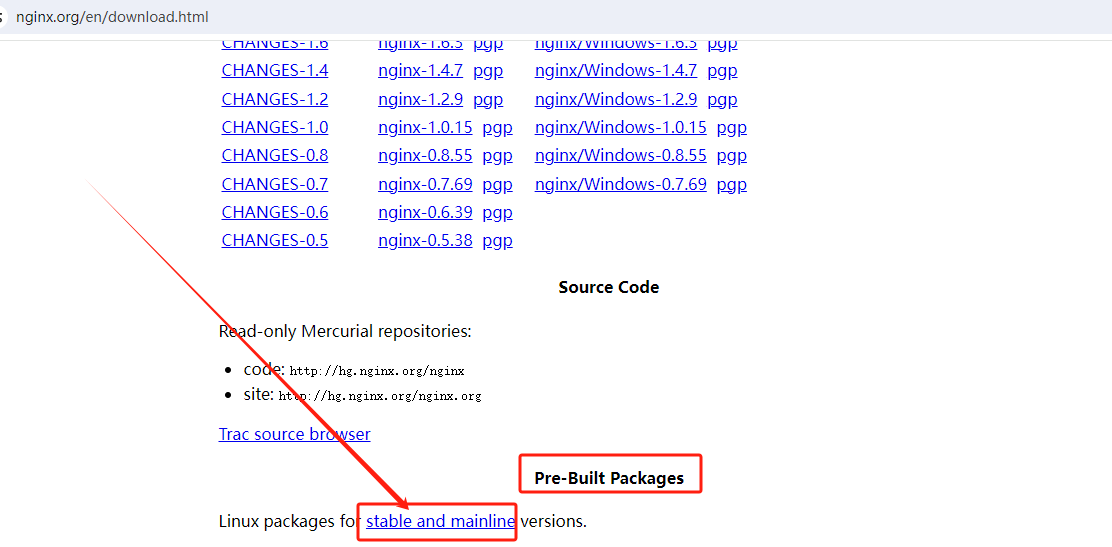

配置官方yum源
# 1、必须先安装包
yum install yum-utils -y

# 2、然后配置源
# 注意下面的内容里有$符号,如果你用cat >> xx.repo <<EOF重定向指令创建文件会丢失$符号
# 所以还是建议直接vi编辑文件写入
vi /etc/yum.repos.d/nginx.repo
[nginx-stable]
name=nginx stable repo
baseurl=http://nginx.org/packages/centos/$releasever/$basearch/
gpgcheck=1
enabled=1
gpgkey=https://nginx.org/keys/nginx_signing.key
module_hotfixes=true

[nginx-mainline]
name=nginx mainline repo
baseurl=http://nginx.org/packages/mainline/centos/$releasever/$basearch/
gpgcheck=1
enabled=0
gpgkey=https://nginx.org/keys/nginx_signing.key
module_hotfixes=true
安装nginx
yum remove nginx* -y
yum install nginx* -y
执行以下命令,启动Nginx并设置开机启动。
systemctl start nginx

systemctl enable nginx

systemctl status nginx.service  # 查看启动状态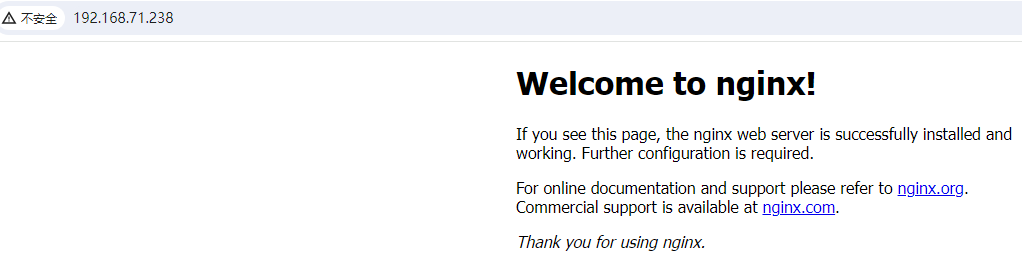
1.3 安装MySQL
安装mysql
# 1、如果之前有残留,请先卸载,否则会与下面的安装冲突
yum remove mysql* mariadb* -y

# 2、下载并安装yum源
wget -i -c http://dev.mysql.com/get/mysql57-community-release-el7-10.noarch.rpm
yum -y install mysql57-community-release-el7-10.noarch.rpm # 安装

# 3、安装mysql
yum -y install mysql-community-server --nogpgcheck
依次执行以下命令,启动MySQL服务并设置开机自启动。
systemctl start mysqld

systemctl enable mysqld
查看MySQL运行状态。
systemctl status mysqld.service执行以下命令,获取安装MySQL时自动设置的root用户密码。
grep 'temporary password' /var/log/mysqld.log

回显如下类似信息。
2024-03-27T03:12:10.075896Z 1 [Note] A temporary password is generated for root@localhost: IsopfQucm2?u
执行以下命令,并按照回显提示信息进行操作,加固MySQL。
mysql_secure_installation
Securing the MySQL server deployment.

Enter password for user root:    #输入上一步骤中获取的安装MySQL时自动设置的root用户密码
The existing password for the user account root has expired. Please set a new password.

New password:  #设置新的root用户密码

Re-enter new password:   #再次输入密码
The 'validate_password' plugin is installed on the server.
The subsequent steps will run with the existing configuration of the plugin.
Using existing password for root.

Estimated strength of the password: 100
Change the password for root ? ((Press y|Y for Yes, any other key for No) : N   #输入N否则会需要再设置一遍

 ... skipping.
By default, a MySQL installation has an anonymous user,
allowing anyone to log into MySQL without having to have
a user account created for them. This is intended only for
testing, and to make the installation go a bit smoother.
You should remove them before moving into a production
environment.

Remove anonymous users? (Press y|Y for Yes, any other key for No) : Y   #是否删除匿名用户,输入Y
Success.

Normally, root should only be allowed to connect from 'localhost'. This ensures that someone cannot guess at the root password from the network.

Disallow root login remotely? (Press y|Y for Yes, any other key for No) : Y   #禁止root远程登录,输入Y
Success.

By default, MySQL comes with a database named 'test' that anyone can access. This is also intended only for testing, and should be removed before moving into a production environment.

Remove test database and access to it? (Press y|Y for Yes, any other key for No) : Y   #是否删除test库和对它的访问权限,输入Y
 - Dropping test database...
Success.

 - Removing privileges on test database...
Success.

Reloading the privilege tables will ensure that all changes
made so far will take effect immediately.

Reload privilege tables now? (Press y|Y for Yes, any other key for No) : Y   #是否重新加载授权表,输入Y
Success.

All done!
用新密码登录
[root@web02 html]# mysql -uroot -pEgon@123改密码
用
   SET PASSWORD FOR 'root'@'localhost' = 'new_password';
或者
   ALTER USER 'root'@'localhost' IDENTIFIED BY 'new_password';

mysql8创建新账户用一条命令会报错
grant all on *.* to root@'192.168.71.%' identified by '123';
需要拆分为三条命令执行才行
create user 'root'@'192.168.71.%';
alter user 'root'@'192.168.71.%' identified by '123';
grant all on *.* to 'root'@'192.168.71.%';
flush privileges;
你也可以选择安装mariadb都可以
1、安装
yum remove mysql* -y  # 如果你要安装mariadb,那就要清理掉机器上安装过的mysql,因为二者会有冲突
yum install mariadb* -y

rm -rf /var/lib/mysql/*
systemctl start mariadb
2、创建库、创建远程登录账号、授权
mysql -uroot -p
-- 执行以下命令,创建 MariaDB 数据库。例如 “wordpress”。
CREATE DATABASE wordpress;
-- 执行以下命令,创建一个新用户。例如 “user”,登录密码为 123456。
CREATE USER 'egon'@'localhost' IDENTIFIED BY '123456';
-- 执行以下命令,赋予用户对 “wordpress” 数据库的全部权限。
GRANT ALL PRIVILEGES ON wordpress.* TO 'user'@'localhost';
1.4 安装并启动php-fpm
1、安装php-fpm
执行以下命令,安装epel源。
yum -y install epel-release

执行以下命令,安装remi源。
yum -y install http://rpms.remirepo.net/enterprise/remi-release-7.rpm

执行以下命令,安装Yum源管理工具。
yum -y install yum-utils

执行以下命令,安装PHP 7.4。
yum -y install php74-php-gd php74-php-pdo php74-php-mbstring php74-php-cli php74-php-fpm php74-php-mysqlnd

执行以下命令,验证PHP的安装版本。
php74 -v

回显如下类似信息:

PHP 7.4.33 (cli) (built: Jun  6 2023 15:55:08) ( NTS )
Copyright (c)  The PHP Group
Zend Engine v3.4.0, Copyright (c) Zend Technologies

# 配置信息(如果是centos9默认以socket方式启动,想用端口方式,需要改listen=127.0.0.1:9000)
cat /etc/opt/remi/php74/php-fpm.d/www.conf |grep -v '^;' |grep -v '^$'

# 执行以下命令,启动PHP服务并设置开机自启动。
systemctl start php74-php-fpm

systemctl enable php74-php-fpm
1.5 修改Nginx配置文件动态请求转发php-fpm
执行以下命令打开配置文件/etc/nginx/nginx.conf。
vim /etc/nginx/nginx.conf
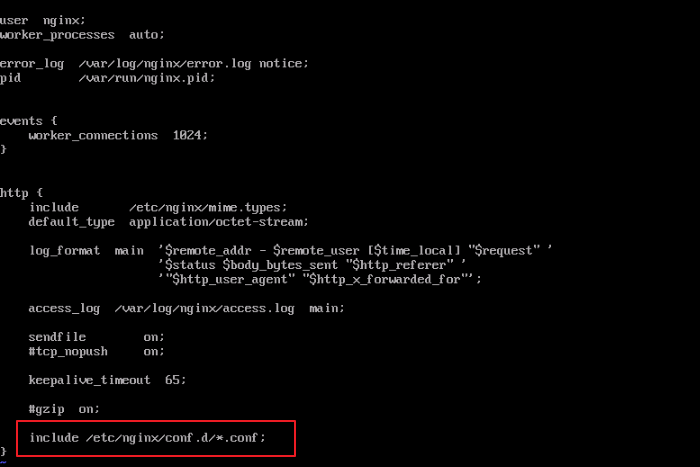
从nginx.conf可以看出,配置文件定向至/etc/nginx/conf.d/*.conf。
输入:quit退出nginx.conf。
执行以下命令打开配置文件/etc/nginx/conf.d/default.conf。
vim /etc/nginx/conf.d/default.conf
按i键进入编辑模式。
修改打开的“default.conf”文件。
找到server段落,修改或添加下列配置信息。
    server {
        listen       80;
        server_name  localhost;

        #access_log /var/log/nginx/host.access.log  main;

    # 非.php结尾请求从root指定的目录里直接拿,例如/、/1.jpg、/a/b/2.css
    location / {
        root   /usr/share/nginx/html;
        index index.php index.html index.htm a.txt;
    }

    # 以.php结尾的请求,交给fastcgi程序处理,下面的配置没有一点是多余的
    location ~ \.php$ {
        fastcgi_pass   127.0.0.1:9000;
        fastcgi_param  SCRIPT_FILENAME /usr/share/nginx/html$fastcgi_script_name;
        include        fastcgi_params;
    }
储备知识
index指令或try_files指令都会触发二次匹配,
所以当请求https://egonlin.com/时,匹配到location / 会执行index指令依次序查找问题,找到了一个文件叫index.php
则使用/index.php发起内部重定向,就像从客户端再一次发起请求一样,Nginx会再一次搜索location,
毫无疑问匹配到第二个~ \.php$, 然后交给FastCGI处理

说明:index.php内通常编写了php语言写的动态处理程序,该程序nginx本身时无法处理的,必须交给php-fpm处理
配置解释1:整体的工作流程
1、常规匹配:localtion /
2、正则匹配:location ~ \.php$
正则匹配优先级 > 常规匹配

当请求https://egonlin.com/时,没有指定任何具体的资源,先匹配正则,发现并非.php结尾所以匹配失败
然后匹配常规匹配localtion /成功,进而触发其内部的index指令执行,并成功找到index.php触发二次匹配https://egonlin.com/index.php

二次匹配会匹配成功正则location ~ \.php$
Nginx会通过 fastcgi_pass 指令将请求转发到 FastCGI 服务器,
FastCGI 服务器(比如 PHP-FPM)会在收到请求后查找 SCRIPT_FILENAME 参数对应的 PHP 文件路径,
执行 PHP 代码并产生结果,然后再返回给 Nginx,最后 Nginx 再将这个结果返回给最初的请求者。

说明:
Nginx 本身并不支持 PHP,需要借助 PHP 处理程序(如 PHP-FPM)才能处理 PHP 请求。
这也就是 fastcgi_pass 指令的存在和作用。在这个配置块中,FastCGI 程序才是真正处理 PHP 请求的部分,
而 Nginx 只是扮演了一个反向代理的角色。
location ~ .php$配置解释2:你可以指定多条fastcgi_param来设置要传递给后面的FastCGI程序的参数
如下$document_root变量会引用root指定的路径。上面的示例配置没有用$document_root变量而是直接把路径写死了,所以就不需要root指令了
    location ~ \.php$ {
        root           /usr/share/nginx/html;
        fastcgi_pass   127.0.0.1:9000;
        fastcgi_index  index.php;
        fastcgi_param  SCRIPT_FILENAME $document_root$fastcgi_script_name;
        include        fastcgi_params;
    }
}

1、location ~ \.php$ :这行表示这个 location 块将会匹配任何以 .php 结尾的请求。~ 符号表示这里用到了正则表达式。
2、root html;:这行设置了在寻找请求文件时的根目录为  /usr/share/nginx/html;
3、fastcgi_pass   127.0.0.1:9000; 代理给fastcgi程序端口
4、 fastcgi_index  index.php; 这一条没必要设置,因为location ~ \.php$匹配的都是.php结尾的请求,都是明确的请求
而并不是没有指定任何路径就一个/结尾的请求,所以根本涉及不到要去root目录下查找fastcgi_index指定的默认文件
5、fastcgi_param你自己设定的传给fastcgi程序的参数
6、
$document_root获取的是本层配置里root定义的目录
$fastcgi_script_name 是请求 URI 路径中与 .php 文件匹配的部分
如果url地址是:http://example.com/index.php那$fastcgi_script_name获取的是/index.php
如果url地址是:http://192.168.71.114/a/b/c/aa.php那$fastcgi_script_name获取的是/a/b/c/aa.php
7、include 包含其他文件中设置的要传给fastcgi的参数
location ~ .php$配置解释3:include fastcgi_params的作用
该指令是用于包含另一个文件中的配置。此处的 fastcgi_params 是一个在 Nginx 安装时默认创建的文件,
位于 /etc/nginx/ 或者 /usr/local/nginx/ 目录下。
这个文件包含了一系列预设的 FastCGI 参数,主要作用是提供与 FastCGI 服务器(比如 PHP-FPM)交互时需要的参数。
执行以下命令,重新载入nginx的配置文件。
service nginx reload1.6 浏览器访问测试
在/usr/share/nginx/html目录下创建“info.php”的测试页面。
执行以下命令创建并打开“info.php”的测试文件。
vim /usr/share/nginx/html/info.php
按i键进入编辑模式。
修改打开的“info.php”文件,将如下内容写入文件。
<?php
phpinfo();
?>
按Esc键退出编辑模式,并输入:wq保存后退出。
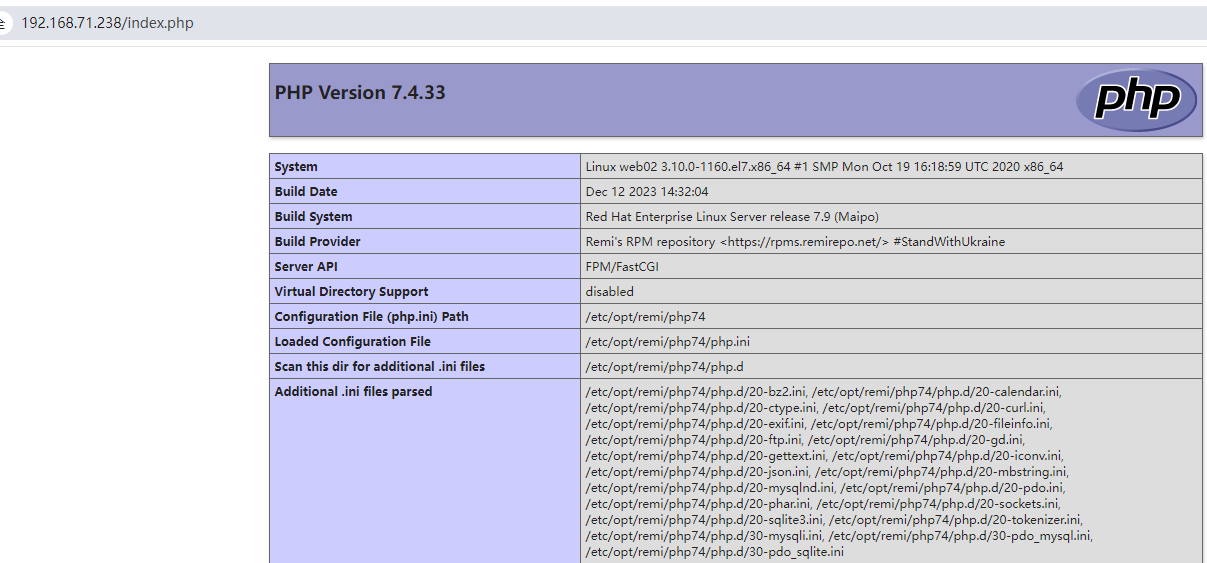
使用浏览器访问“http://服务器IP地址/info.php”,显示如下页面,说明环境搭建成功
二、部署wordpress
2.1 初始数据库
# 1、执行以下命令,并按照提示信息输入MySQL的root用户,登录到MySQL命令行。
mysql -u root -p

# 2、执行以下命令,创建一个新的数据库。
CREATE DATABASE wordpress charset=utf8mb4;

其中,“wordpress”为数据库名,可以自行设置。

# 3、执行以下命令,为数据库创建用户并为用户分配数据库的完全访问权限。
GRANT ALL ON wordpress.* TO wordpressuser@localhost IDENTIFIED BY 'BLOck@123';

其中,“wordpressuser”为数据库用户名,“BLOck@123”为对应的帐户密码,可以自行设置。

# 4、执行以下命令,退出MySQL命令行。
exit

# 5、(可选)依次执行以下命令,验证数据库和用户是否已成功创建,并退出MySQL命令行。
mysql -u wordpressuser -p

SHOW DATABASES

exit

其中,“wordpressuser”为刚刚创建的数据库用户名。
2.2 安装wordpress
1、下载包
# 官网:https://wordpress.org/download/
wget https://wordpress.org/latest.zip

本文编写时对应的最新版是wordpress-6.4.3.zip你可以直接从这里下载:https://gitee.com/egonlin/wordpress-pro
2、将WordPress软件包解压到/usr/share/nginx/html目录
unzip latest.zip -d /usr/share/nginx/html # 解压后生成一个“wordpress”的文件夹。3、执行以下命令,进入 WordPress 安装目录,将wp-config-sample.php文件复制到wp-config.php文件中,并将原先的示例配置文件保留作为备份。
cd /usr/share/nginx/html/wordpress
cp wp-config-sample.php wp-config.php
3、执行以下命令,打开并编辑新创建的配置文件。
vim wp-config.php
按i键进入编辑模式。找到文件中MySQL的部分,并将相关配置信息修改为如下图
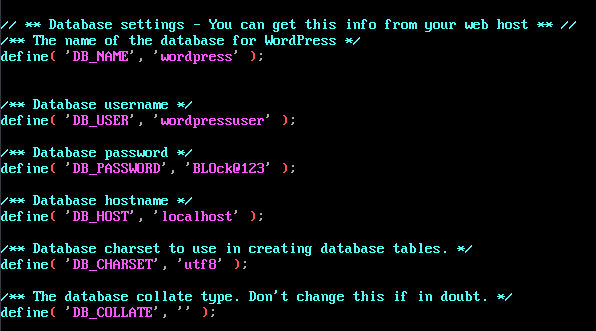
按Esc键退出编辑模式,并输入:wq保存后退出。
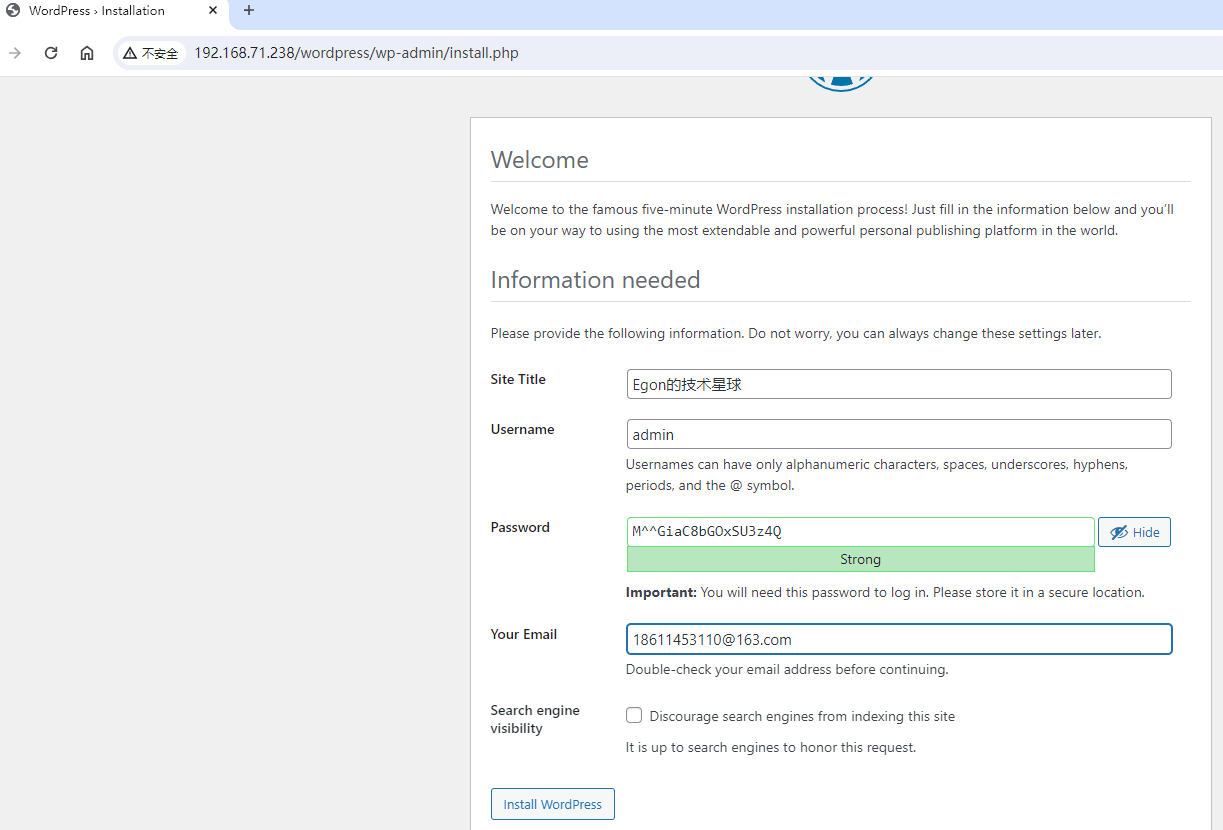
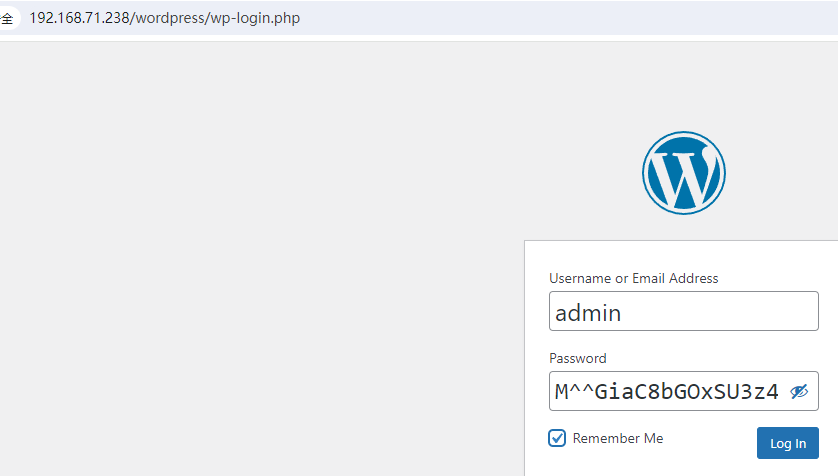
浏览器访问 “http://服务器IP地址/wordpress” 进入安装向导。
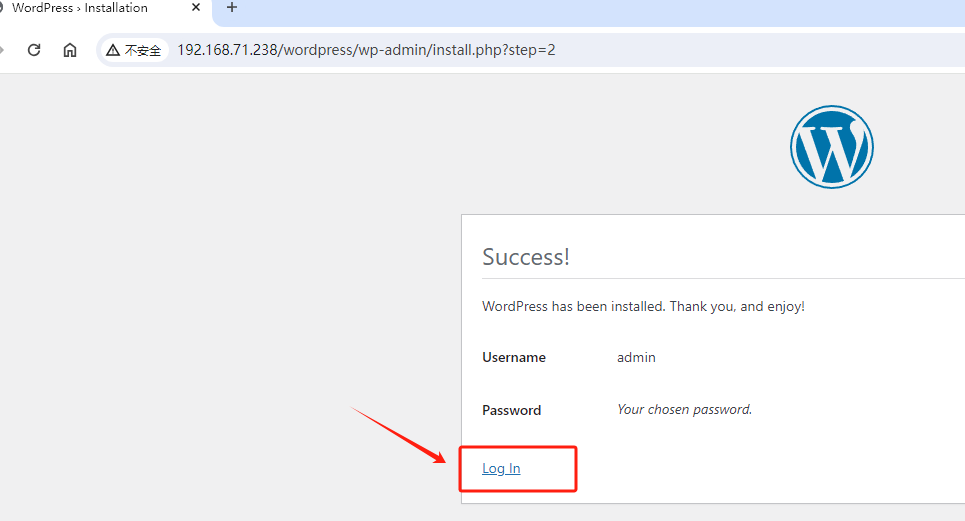

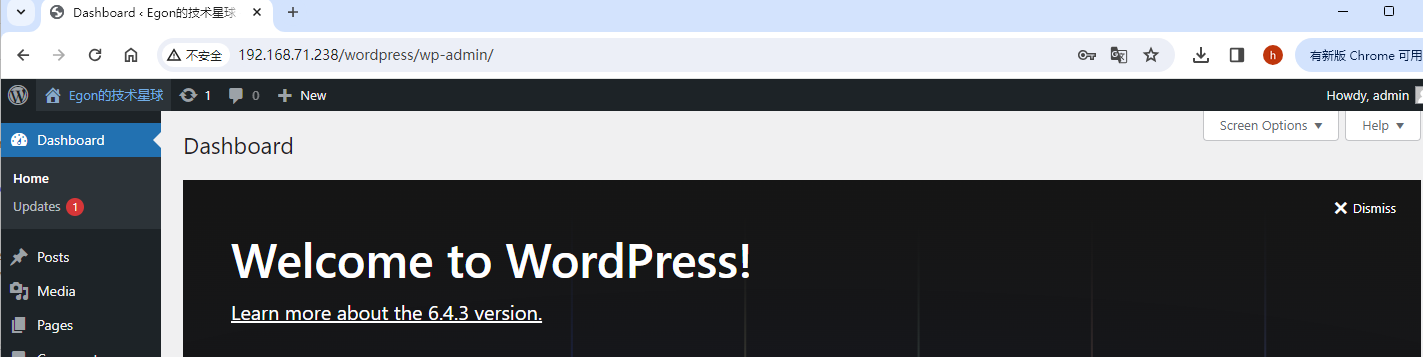
记住密码,登录后台
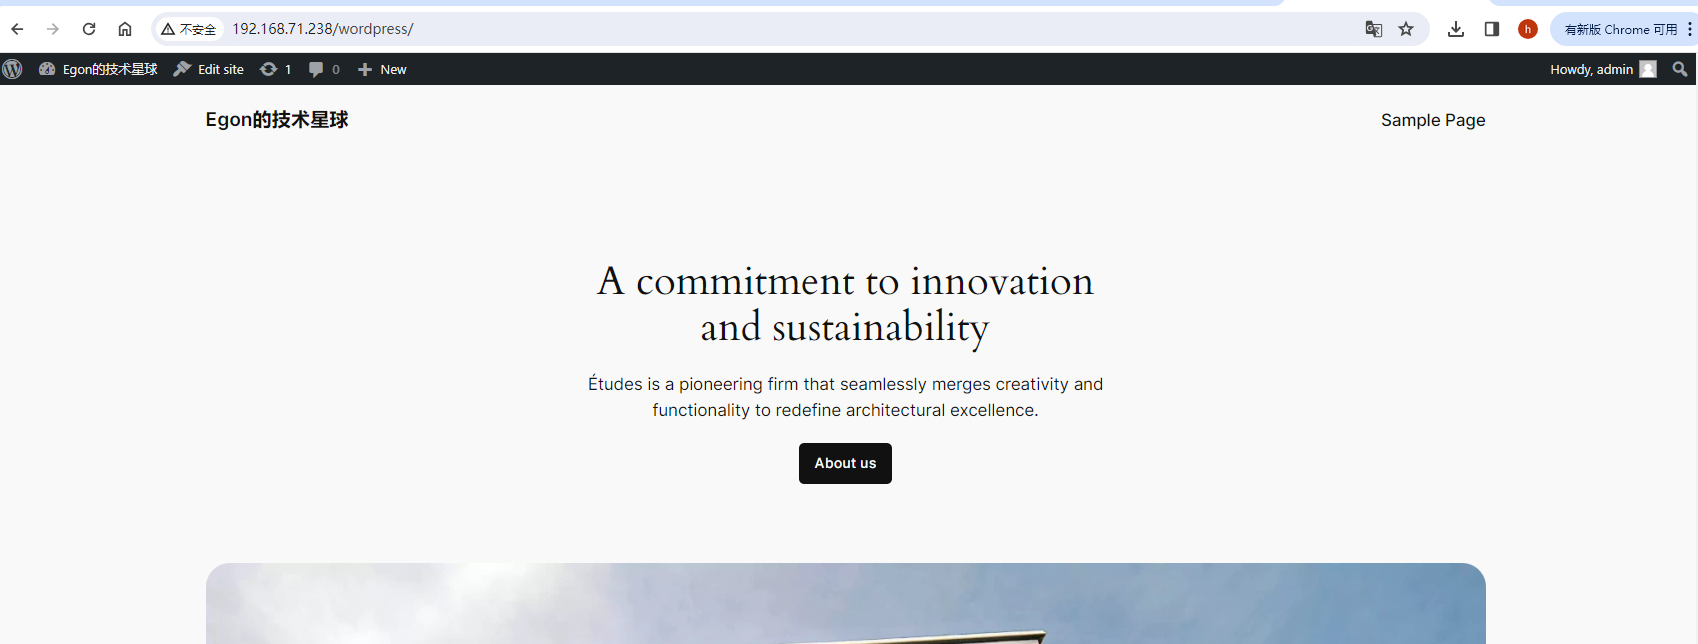
重新访问主页
访问流程说明
假设你的访问地址是 http://192.168.1.10/wordpress,
那么,/wordpress 这个请求将被 location / 匹配到。
然后,由于你设置了 index index.php index.html index.htm a.txt,
将尝试首先查找 /usr/share/nginx/html/wordpress/ (由 root /usr/share/nginx/html 和请求的 /wordpress 拼接而成)下的index.php。

找到文件后index指令触发二次匹配,于是会比对到 location ~ \.php$ 处理块,
这个位置你设置了 fastcgi_param SCRIPT_FILENAME /usr/share/nginx/html/$fastcgi_script_name;
注意,这里的 $fastcgi_script_name 是 /wordpress/index.php,
所以 SCRIPT_FILENAME 被设置成了 /usr/share/nginx/html/wordpress/index.php。
因此,即使在 location ~ \.php$ 里没有设置 root /usr/share/nginx/html;,仍然可以访问,为什么呢?

原理在于 $fastcgi_script_name–这个变量后端所有的路径信息,
包括你希望请求的 wordpress 以及它试图加载的 index.php。
因此,当你使用 /usr/share/nginx/html/$fastcgi_script_name; 时,
你其实已经在手动设置 root 了。

然而,推荐的做法是,在每个 location 块种明确地设置 root指定路径 /usr/share/nginx/html,
然后使用 fastcgi_param SCRIPT_FILENAME $document_root$fastcgi_script_name;。
这两者的效果是一样的,但后者的意图更清楚,更容易维护。
补充:如果遇到403权限问题
nginx默认启动用户user nginx
chown -R nginx.nginx wordpress
三、发布上线
1、购买域名。
为了便于网站的访问和使用,可以给网站设置一个单独的域名,使用域名访问网站。首先,需要在域名注册商处获得授权的域名。
2、进行备案。
如果网站未进行备案,且需要使用华为云进行托管,则需要通过华为云备案系统进行备案。具体操作请参见如何进行备案。
3、配置域名解析。
配置域名解析后才能使用注册的域名访问网站。具体操作请参见配置域名解析。
例如,配置的域名为“www.example.com”,配置成功后,可在浏览器地址栏中输入“http://www.example.com”访问部署的网站。
参考博客
官方:https://developer.wordpress.org/advanced-administration/before-install/howto-install/
华为:https://support.huaweicloud.com/bestpractice-ecs/zh-cn_topic_0135015337.html
腾讯:https://cloud.tencent.com/document/product/213/8044